

Summary
In this article I'll show you how to install (or update your currently installed version of) PowerShell core from within Windows Terminal with almost no effort (it's either a couple of mouse clicks or a simple key combination). I've even gone to the trouble of making an animated gif showing the whole process, so you can see for yourself. It's really simple to set up (you only need to add a small section to your settings file) and you'll also see that this offers a general way to run other scripts in a similar fashion.
Background
I've been using the excellent Windows Terminal for quite some time and, if you're using Windows but haven't yet tried it, I suggest you do so by reading the instructions at https://github.com/Microsoft/Terminal (it tells you to install it using the Microsoft Store, but has instructions for other methods of installation as well). Having used various other applications over the years, it is now my go-to choice for running PowerShell, the command prompt and even SSH sessions to remote servers.
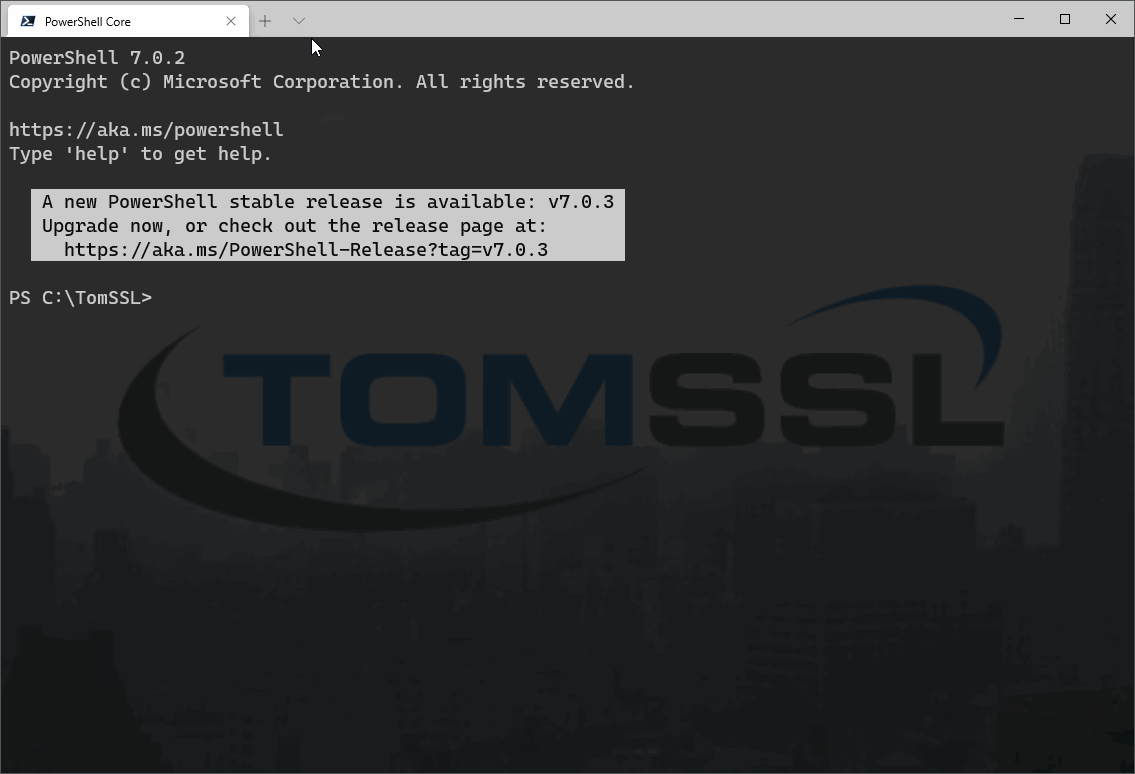
I like PowerShell Core and one of the nice things about it is that it tells you when it's out of date, like this:
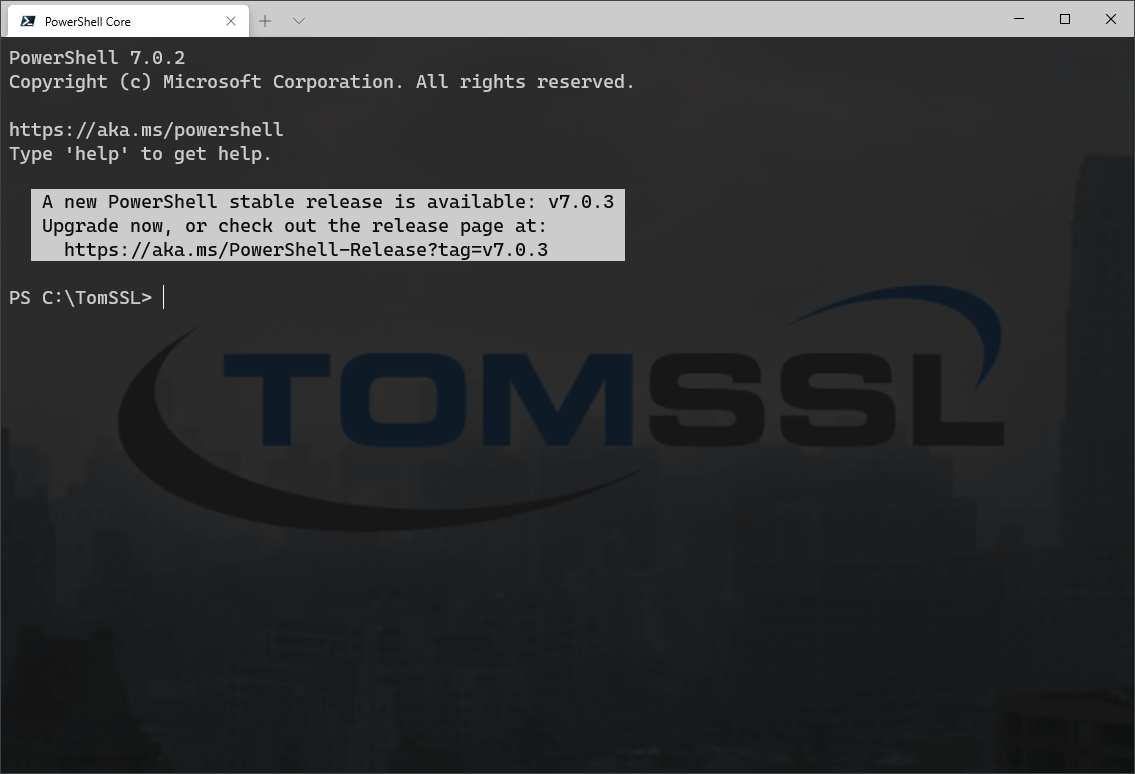
If you do what it says and visit the URL, it takes you to the release page on GitHub from where you can download the latest version. The thing is, for whatever reason, that just seems to be too much effort and I haven't actually dealt with this update for several months (the "new" version shown in the image was released in mid-July).
However, as luck would have it, Microsoft provide another URL which we can use to obtain a more useful installation script: https://aka.ms/install-powershell.ps1
The Setup
Edit your settings in Windows terminal (either Ctrl+, (control and comma) or use the menu). Now add this to your profiles section and save it.
{
    // This will update PowerShell Core.
    "guid": "{99c99bbd-c9c9-9999-96e7-009a87ff44bf}", // This needs to be unique within your settings file.
    "name": "Update PowerShell Core",
    "icon": "ms-appx:///ProfileIcons/{574e775e-4f2a-5b96-ac1e-a2962a402336}.png", // This is NOT random, it's the PowerShell Core icon.
    "commandline": "powershell.exe Invoke-Expression \\\"& { $(Invoke-RestMethod https://aka.ms/install-powershell.ps1) } -UseMSI\\\"",
    "hidden": false
}
That's all you need to do. But let's find out a bit more.
Now, if you're anything like me, you might be wondering if I've got the right number of backslashes there. I have (it's three in each block).
This was quite painful to work out. The things to remember are:
- JSON needs to be wrapped in double quotes.
&needs to be wrapped in double quotes in PowerShell.- Calling PowerShell via
powershell.exe statementdoes strange things ifstatementis wrapped in double quotes. \is the escape character for JSON.
Here's the actual PowerShell I wanted to run:PS C:\TomSSL> Invoke-Expression "& { $(Invoke-RestMethod https://aka.ms/install-powershell.ps1) } -UseMSI" but remember that I needed to pass that to powershell.exe and doing so seemed to strip the double quotes (see 3 above).
Bearing in mind all four of the points above, here is the relevant section of the settings file:"commandline": "powershell.exe Invoke-Expression \\\"& { $(Invoke-RestMethod https://aka.ms/install-powershell.ps1) } -UseMSI\\\"",
I do these things so you don't have to.
How to update PowerShell Core
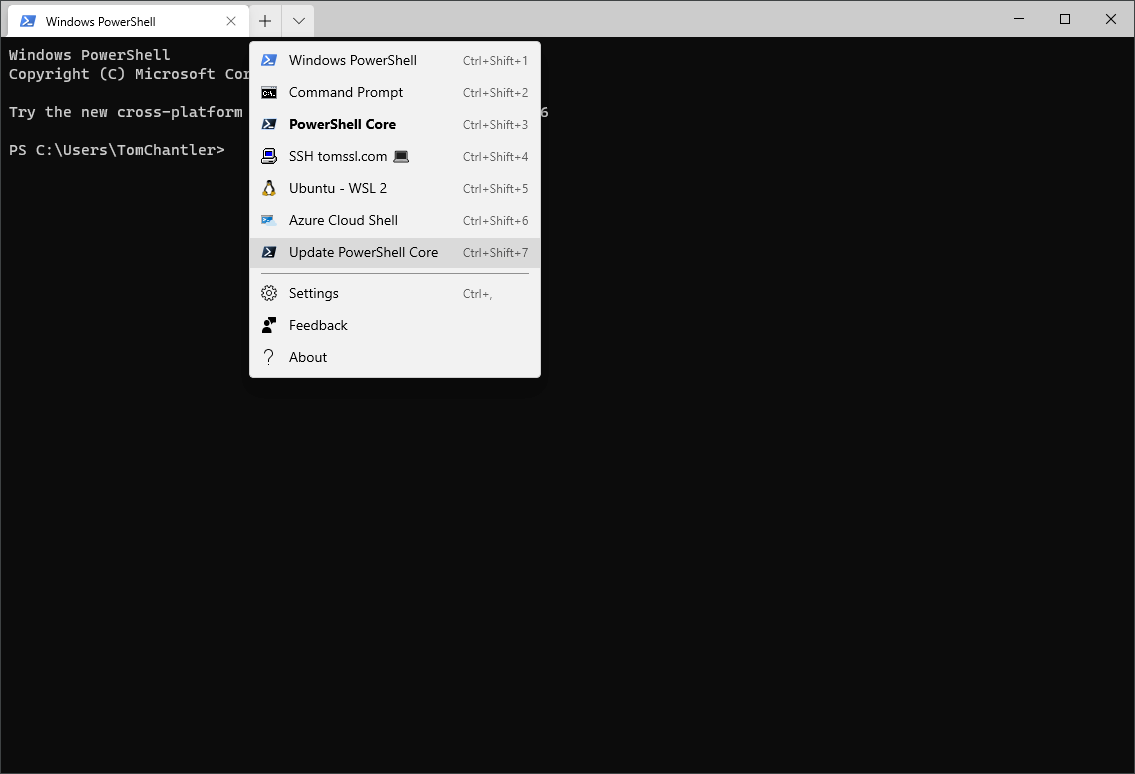
First, you need to close all of your PowerShell Core windows (otherwise the update won't work properly). But you need Windows Terminal still to be running, so just make sure you have a different type of window open. Here is precisely what I do:
- Open a normal PowerShell session in Windows Terminal;
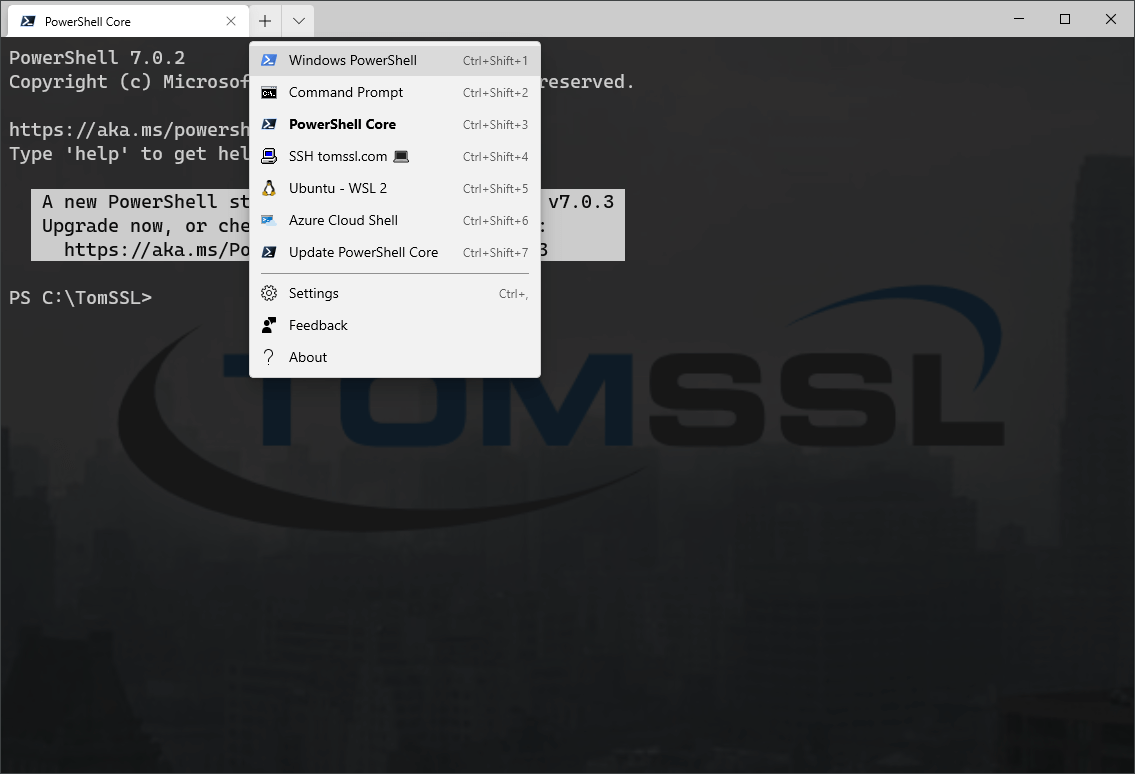
- Close all of my PowerShell Core windows;
- Select the update from the menu (in my case I could choose
Ctrl+Shift+7, but this is likely to be different for you);
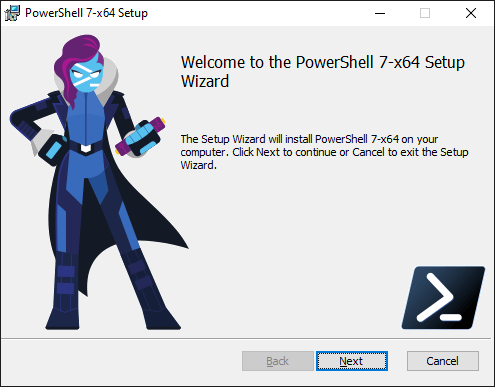
And that's it. Since I've chosen to use the MSI, I get the ordinary, interactive installation.
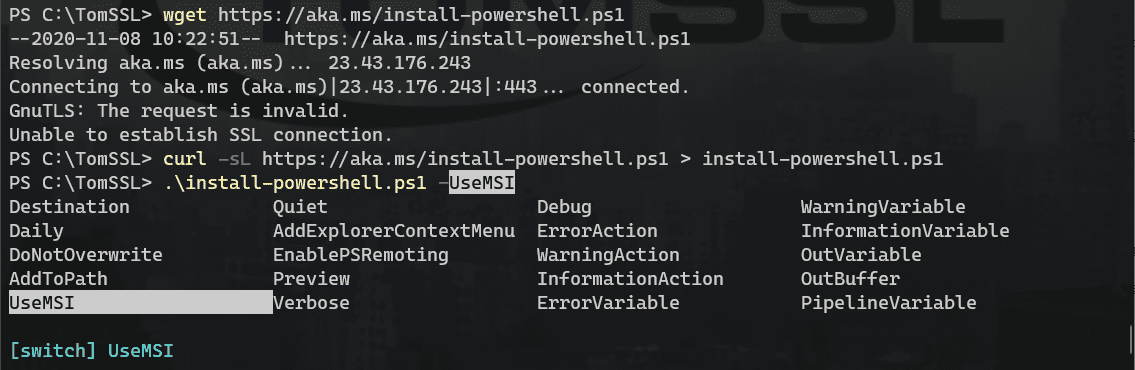
I prefer that, but you can install it silently if you want to by appending the -Quiet option after the -UseMSI option. The easiest way to check out the other options available with this script is to download it and have a look. Notice that I got an error when I tried to use wget to download the script. So I ended up having to do curl -sL https://aka.ms/install-powershell.ps1 > install-powershell.ps1. Like this:
However, I wouldn't bother to do this, especially as the script might change in the future. Don't save the script. Just set it up in the menu and run it via the menu (or keyboard shortcut) when you see that PowerShell is out of date. Remember, we're trying to save effort here, not increase it.
Here's an animated gif showing the whole process. You'll notice that the screen goes blank in the middle; that's when the UAC prompt shows up.
Conclusion
I like the new Windows Terminal and I like PowerShell Core. I'm also quite lazy, so the best way to get me to do something is either to make it as simple as possible, or to make it really interesting and almost impossible. Updating PowerShell isn't particularly interesting, so it needs to be simple. This makes it quicker and easier.
If you've read this far, you've probably realised that you can adapt this method to run arbitrary PowerShell scripts. If you think of another use for this that you want to share, let me know in the comments below.
Finally, if you thought my Windows Terminal menu looked a bit empty for somebody that claims to use it all the time, that's because it's not my real menu; I removed most of the stuff I've got in there because it's not relevant to this article.
Join the newsletter to receive the latest updates in your inbox.

Hire me for consultancy work


